
Our Setups Through the Years
Years 1 & 2 of Starting Seeds Indoors
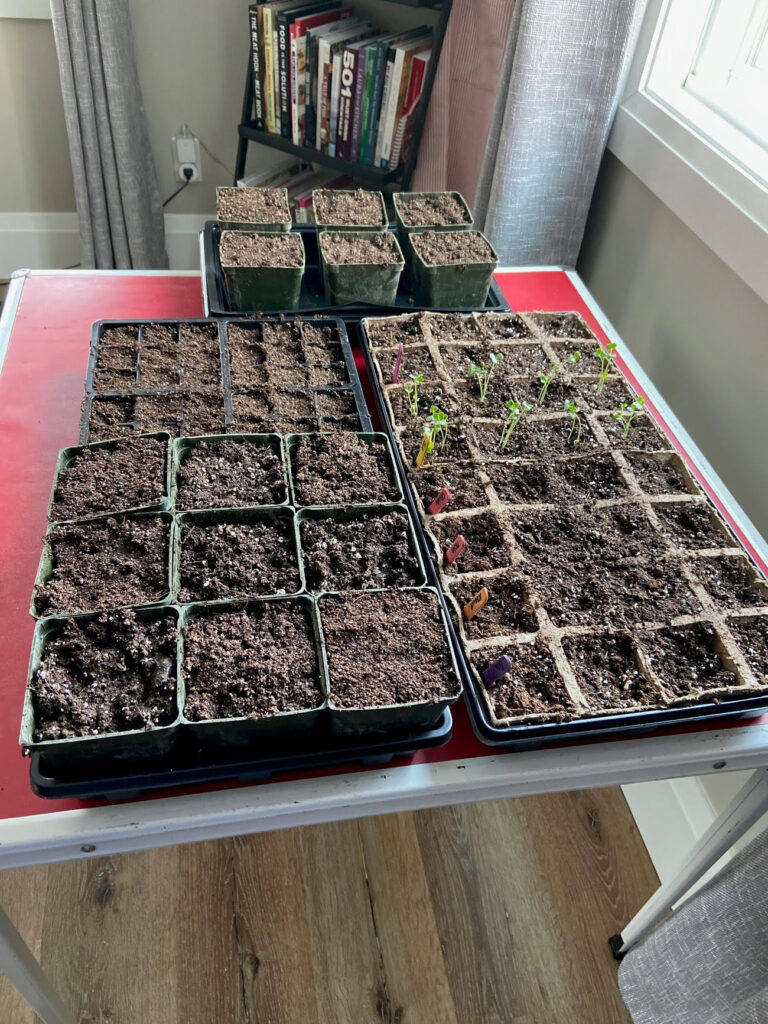
Since buying our house, we’ve been experimenting with various ways of efficiently starting seeds indoors. During our first attempt, we had a card table and a large window in our dining room to place it in front of. We used flimsy trays and watered the soil daily, hoping that the seedlings were getting enough sunlight. Although it worked fairly well, we soon discovered that they weren’t receiving adequate sunlight! Ps. Don’t sprinkle jalapeno seeds or you will have a forest of jalapeno plants producing no fruit, learned that the hard way!
Year 3 of Starting Seeds Indoors
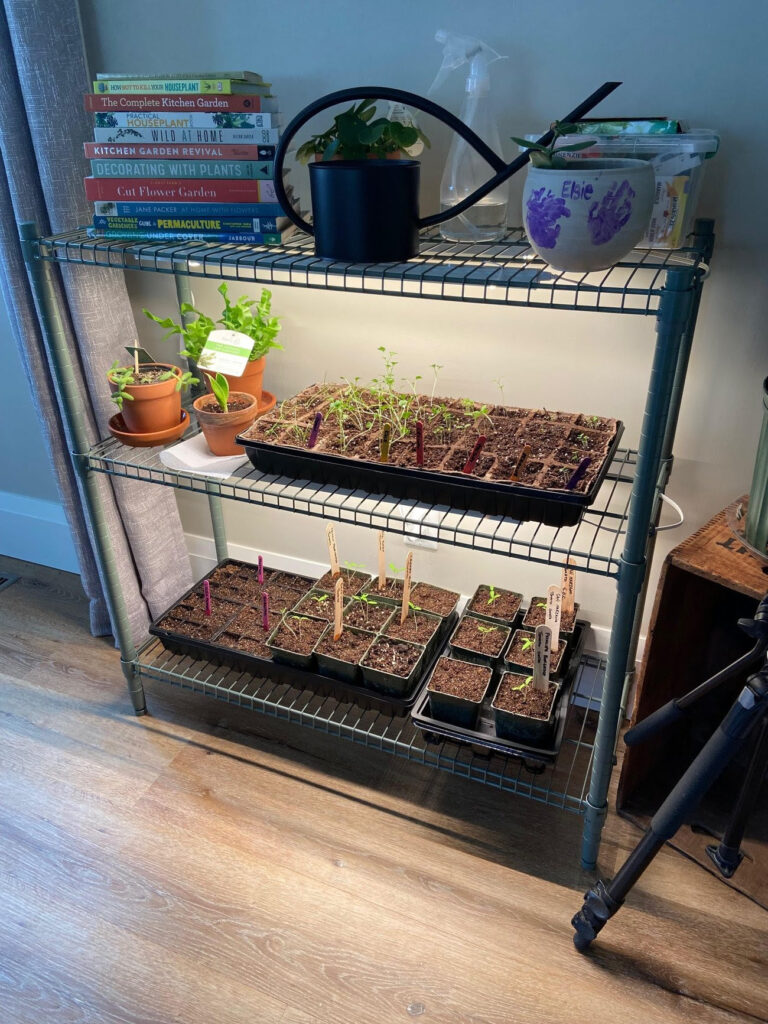
The following year, we decided to try grow lights. We purchased a cheap shelf system from IKEA and four 2-foot grow lights from Amazon, which worked wonders for the seedlings. However, we couldn’t expand the setup to accommodate more plants and were limited to only a couple trays.
Year 4 of Starting Seeds Indoors
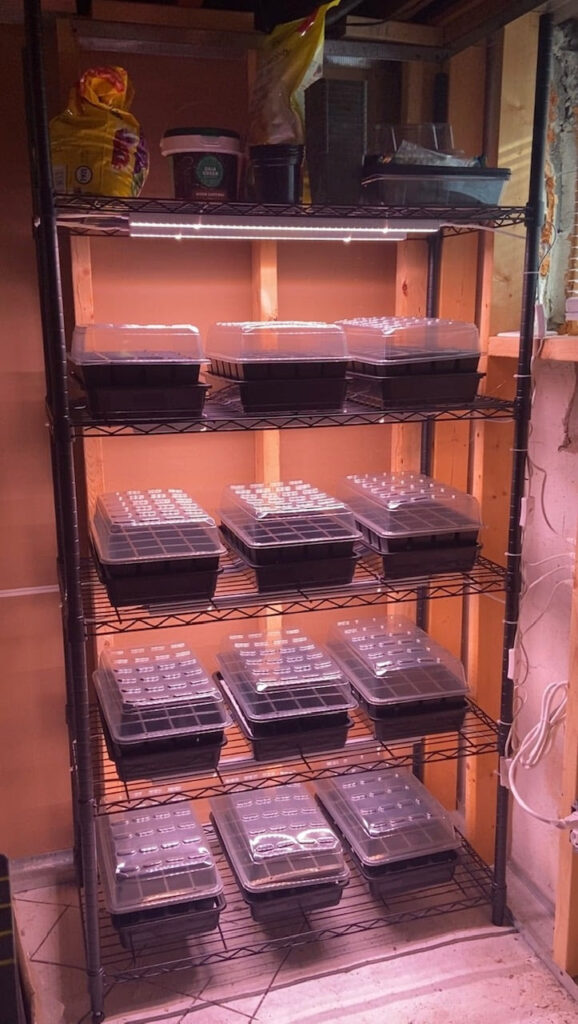
This year, we’ve taken our seed-starting game to the next level. We upgraded to a 5-shelf wire rack, added more grow lights, and switched to 24-cell packs from Gardener’s Supply. These new trays enabled us to water from below and prevented any potential fungus or disease issues. Our soil mix contained Perlite, sea compost and potting soil . After placing the shelf in the basement, we discovered that the temperature difference between the main floor and basement delayed germination by 5-7 days due to the cooler temperature! We upgraded our fan so that most shelves received a cool breeze to strengthen their stems. Next year we plan on adding heat mats to speed up the germination process.
We’ve learned a lot throughout this process and made notes on what worked and what didn’t. Starting vegetables early (in February and March) can give you a head start on growing in cooler climates like ours in Southern Ontario. Waiting until after the last frost to plant or start tomatoes and other vegetables would delay harvest time (if this works for your garden plan, keep at it!).
5 Key Takeaways
1. Light: Most seedlings require at least 12-16 hours of light per day, so it’s important to provide adequate light through grow lights or a sunny windowsill.
2. Temperature: Different seeds have different temperature requirements for germination, but in general, most seeds will germinate between 65-75°F (18-24°C).
3. Soil: High-quality seed-starting mix is essential for healthy seedlings. It should be lightweight, sterile, and well-draining to prevent disease and root rot.
4. Water: Seedlings need consistent moisture, but it’s important not to overwater as this can lead to damping off disease and other problems. Watering from the bottom can be a good way to keep the soil moist without wetting the leaves which could lead to diseases on the plants.
5. Timing: Starting seeds indoors requires careful timing to ensure that the seedlings are ready to transplant outdoors at the right time. Consult seed packets or our planting guide (coming soon!) to determine when to start seeds for your specific location and climate.
We hope our experience will help you refine your seed-starting process and yield a bountiful harvest. Tag us in your seed setups on social media or email them to us, we’d love to check them out!
Best regards,